
How to Cut and Install Concrete Pavers

A concrete patio can be a practical, attractive and cost-effective addition to any outdoor space. However, proper installation is essential to keep the patio functional and charming for the long term.
Understanding the step-by-step process of how to effectively install concrete pavers will help you achieve a professional finish that will stand the test of time.
Overview of Concrete Pavers

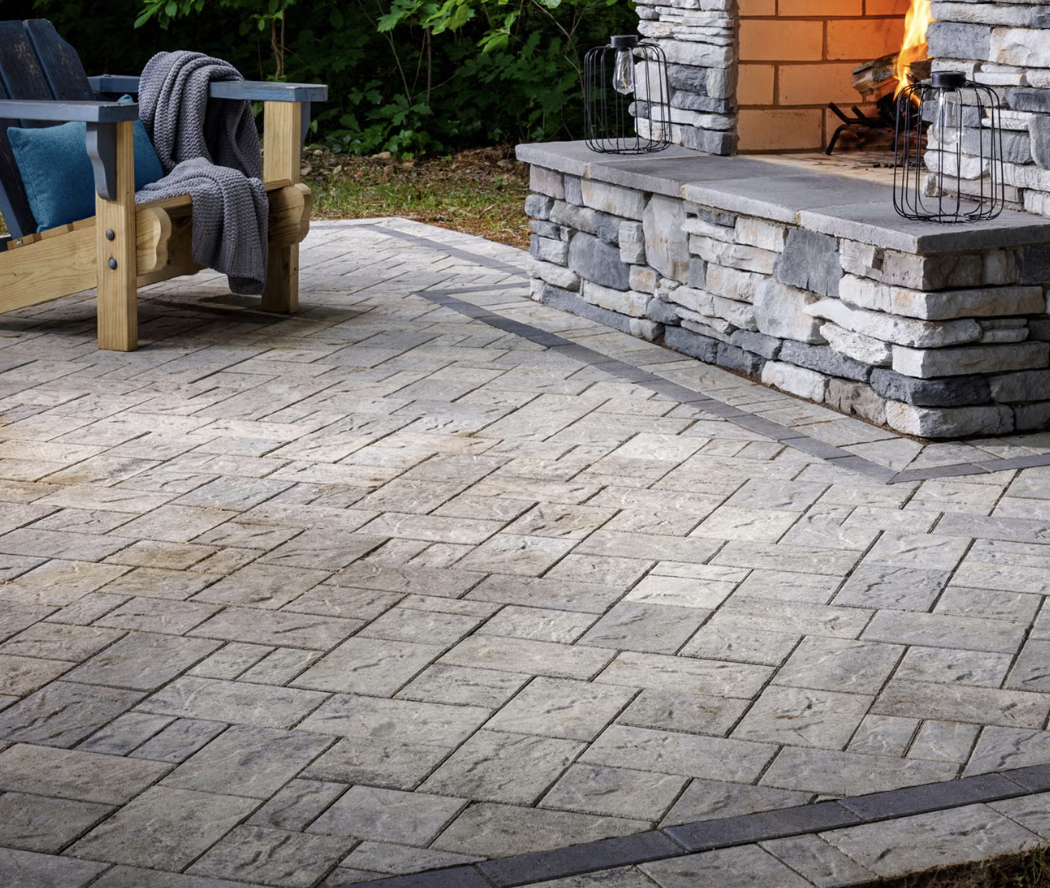
Due to its versatility, durability and practicality, concrete is one of the most popular materials for outdoor pavers.
Concrete pavers can come in many different varieties, are easy to install and are low-maintenance. However, there are still things to learn before you get started.
Tools and Materials Needed
First, you need to assemble all the necessary materials for a successful installation. These include:
Tools
- Shovel
- Pointing trowel
- Chalk or paint
- A spirit level
- Measuring tape / large ruler
- Rubber mallet
- Cement mixer
- Broom
- Spacing and wooden pegs
- Stakes
- String
- Safety glasses
- Gloves
- Dust mask
There are also some optional tools that you could have on hand:
- A slab splitter
- A circular saw
- A compacting machine
- A hand tamper
- Sealer
- A hammer
- A chisel
- Graph paper and pencil
Materials
Aside from the concrete pavers themselves, you’ll want to mix cement, water and sand to make a mortar for the sub-base.
It’s recommended to use a cement mixer here, but you can mix by hand if you don’t have access to one. Either way, make sure you’re wearing safety glasses, gloves and dust mask.
Add approximately half a bucket’s worth of water to the mixer, then add four parts sand to one part cement. You can alter the consistency during or after by adding more sand or water. When the mortar is finished, it should be firm (but still malleable) and smooth.
Preparing the Site
Once you’ve gathered your tools and mixed the mortar, it is time to prepare the work area.
Planning the Layout
First, make sure there’s enough space for your pavers. You’ll need to measure the length and width of the area and then multiply them together to give you the square footage.
It’s recommended that you add about 5 to 10 percent extra to that number (depending on the complexity of the shape of the area) to account for pavers that need to be cut for curves or irregular spaces.
Most pavers are purchased by the square foot, so let your supplier know the square footage of your layout, and they can easily write up a quote for you.
Next, mark the outline on the ground with paint or chalk.
Excavating the Area
Now, it is time to determine the height that the pavers need to reach. This will be the total depth that will need to be excavated. To figure this out, add the inches of the base (usually between 4 and 6 inches) to the thickness of the paver, plus an extra inch for sand bedding.
A patio should always slope slightly away from the direction of the house to prevent rainwater pooling. It’s recommended to have the height of the patio drop by an inch every four feet.
Place your stakes around the edge of the area, marking them with the surface height required, then add a string tightly around the stakes that matches this height.
Dig this area out with a shovel, and then compact the ground with a compacting machine. If you do have access to this tool, you can wet the area with water, let it absorb and then walk over the ground. Repeat the process until the soil is compact.
Installing the Base Layer
To install the base layer, start by adding a layer of gravel at least 3 inches thick. Make sure this layer also slopes away from the house to the gradient that matches your excavation and eventual patio surface height.
Spray a light layer of water onto the gravel to bind it together, then compact it. This should result in a solid surface after it has dried.
Finally, add a 1-inch layer of bedding sand to create a flat surface.
How to Cut Concrete Pavers
Even if the job area is straightforward, you’ll probably need to cut a few pavers at some point to ensure a proper fit for a seamless design.
Measuring and Marking
If you need to cut pavers to fit the shape of a specific area, make sure to measure them and accurately mark where they should be cut. Again, you can use graph paper and a pencil to plot this before you start.
Cutting Methods
If you’re wondering how to cut concrete pavers, there are a few methods to choose from:
- Hammer and Chisel: This is the most straightforward, low-tech method, as it only requires a hammer, chisel, measuring tape and a rubber mallet. Follow the “cut” lines you made when measuring, and cut a 1 to 2 millimeter groove into the paver. Then, split it by hitting the chisel with the hammer. This may take a few tries, and you may need to chip away uneven edges before laying the paver.
- Circular Saw: This is a much easier method if you have access to a circular saw, but remember to wear safety goggles and a dust mask. Make sure that the saw is designed to cut stone, as those designed for wood will likely break if used to cut concrete.
- Slab Splitter: This method is very straightforward, but the tools can be expensive. Just place the blade on the cut lines and apply force. Slab splitters can be rented if you do not have access to one. These are typically available in hydraulic, electric and manual lever press options.
Tips for Cutting
No matter the method, one of the most important things to remember when cutting pavers is to wear the appropriate safety equipment such as goggles, gloves and a dust mask.
When cutting curves into pavers, it’s recommended that you use a circular saw. If the curves are small and tight, you may need to make multiple straight cuts. Alternatively, you can also buy curved pavers.
How to Install Concrete Pavers
After prepping the ground and cutting the stones, you’re now ready for installation.
Laying Pavers
When laying pavers, make sure it’s safe for you to bear their weight without injury. Get help from somebody else if they’re too heavy.
Lower the pavers slowly and carefully rather than just dropping them. Dropped pavers can not only damage the ground, but they will also fall at an angle, resulting in an incorrect gradient. Start with interior pavers and end with those at the borders.
Spacing and Alignment
Take your time with spacing and alignment, and use measuring tape and/or a spirit level to ensure you have the correct spacing and gradient. Make sure the pavers are firmly on the base and do not wobble or shift when you walk on them.
Cutting and Fitting Edge Pavers
Edge pavers are the smaller pieces that make up any corners or gaps. The number of these needed will depend on the shape of your patio. Keep in mind that some edge pavers may need to be cut to fit around drainage pipes.Cutting these edge pavers can be harder than cutting the rest of the pavers. Consider using multiple cutting methods if needed, such as a saw for larger edge pavers and a hammer and chisel for smaller ones. This is the step where time and attention to detail will pay off the most.
Securing and Finishing
Securing and finishing your concrete pavers is essential to a safe and visually pleasing result.
Adding Edging
Plastic, metal or even concrete edging helps to keep your pavers in place. Add edging along the perimeter of the area and hold them in place with stakes or rebar.
Ensure they sit snugly against the outer pavers to prevent shifting. Properly-installed edging enhances durability, defines the layout and helps make landscape maintenance easier.
Filling Joints
Once the pavers are cut and placed, you can add polymeric sand to the joints to fill the gaps. Sweep any excess from the patio surface with a broom.
Compacting Pavers
To compact the pavers, you can either use a compactor or a hand tamper. A hand tamper is cheaper and more straightforward to use, but a compactor can apply more force for better and faster results.
Markham: Top Quality Concrete Pavers From Multiple Brands
At Markham, we supply high-quality concrete pavers to construction professionals and homeowners in the Carolinas. We love to work with excellent brands like Techo-Bloc, Belgard and Unilock to ensure all outdoor designs get the longevity and quality they deserve.
Ready to get started on your concrete paver project? Visit one of our stores in Charlotte, Denver, Fort Mill and Charleston to see our offerings in person. Or, check out our product range online, where you’ll find a vast choice of hardscaping solutions for every project.


Get Your Free Quote Today
Transform your outdoor space with our expert materials.
